
Getting Sharp Images: Understanding ISO, Shutter Speed, and Aperture
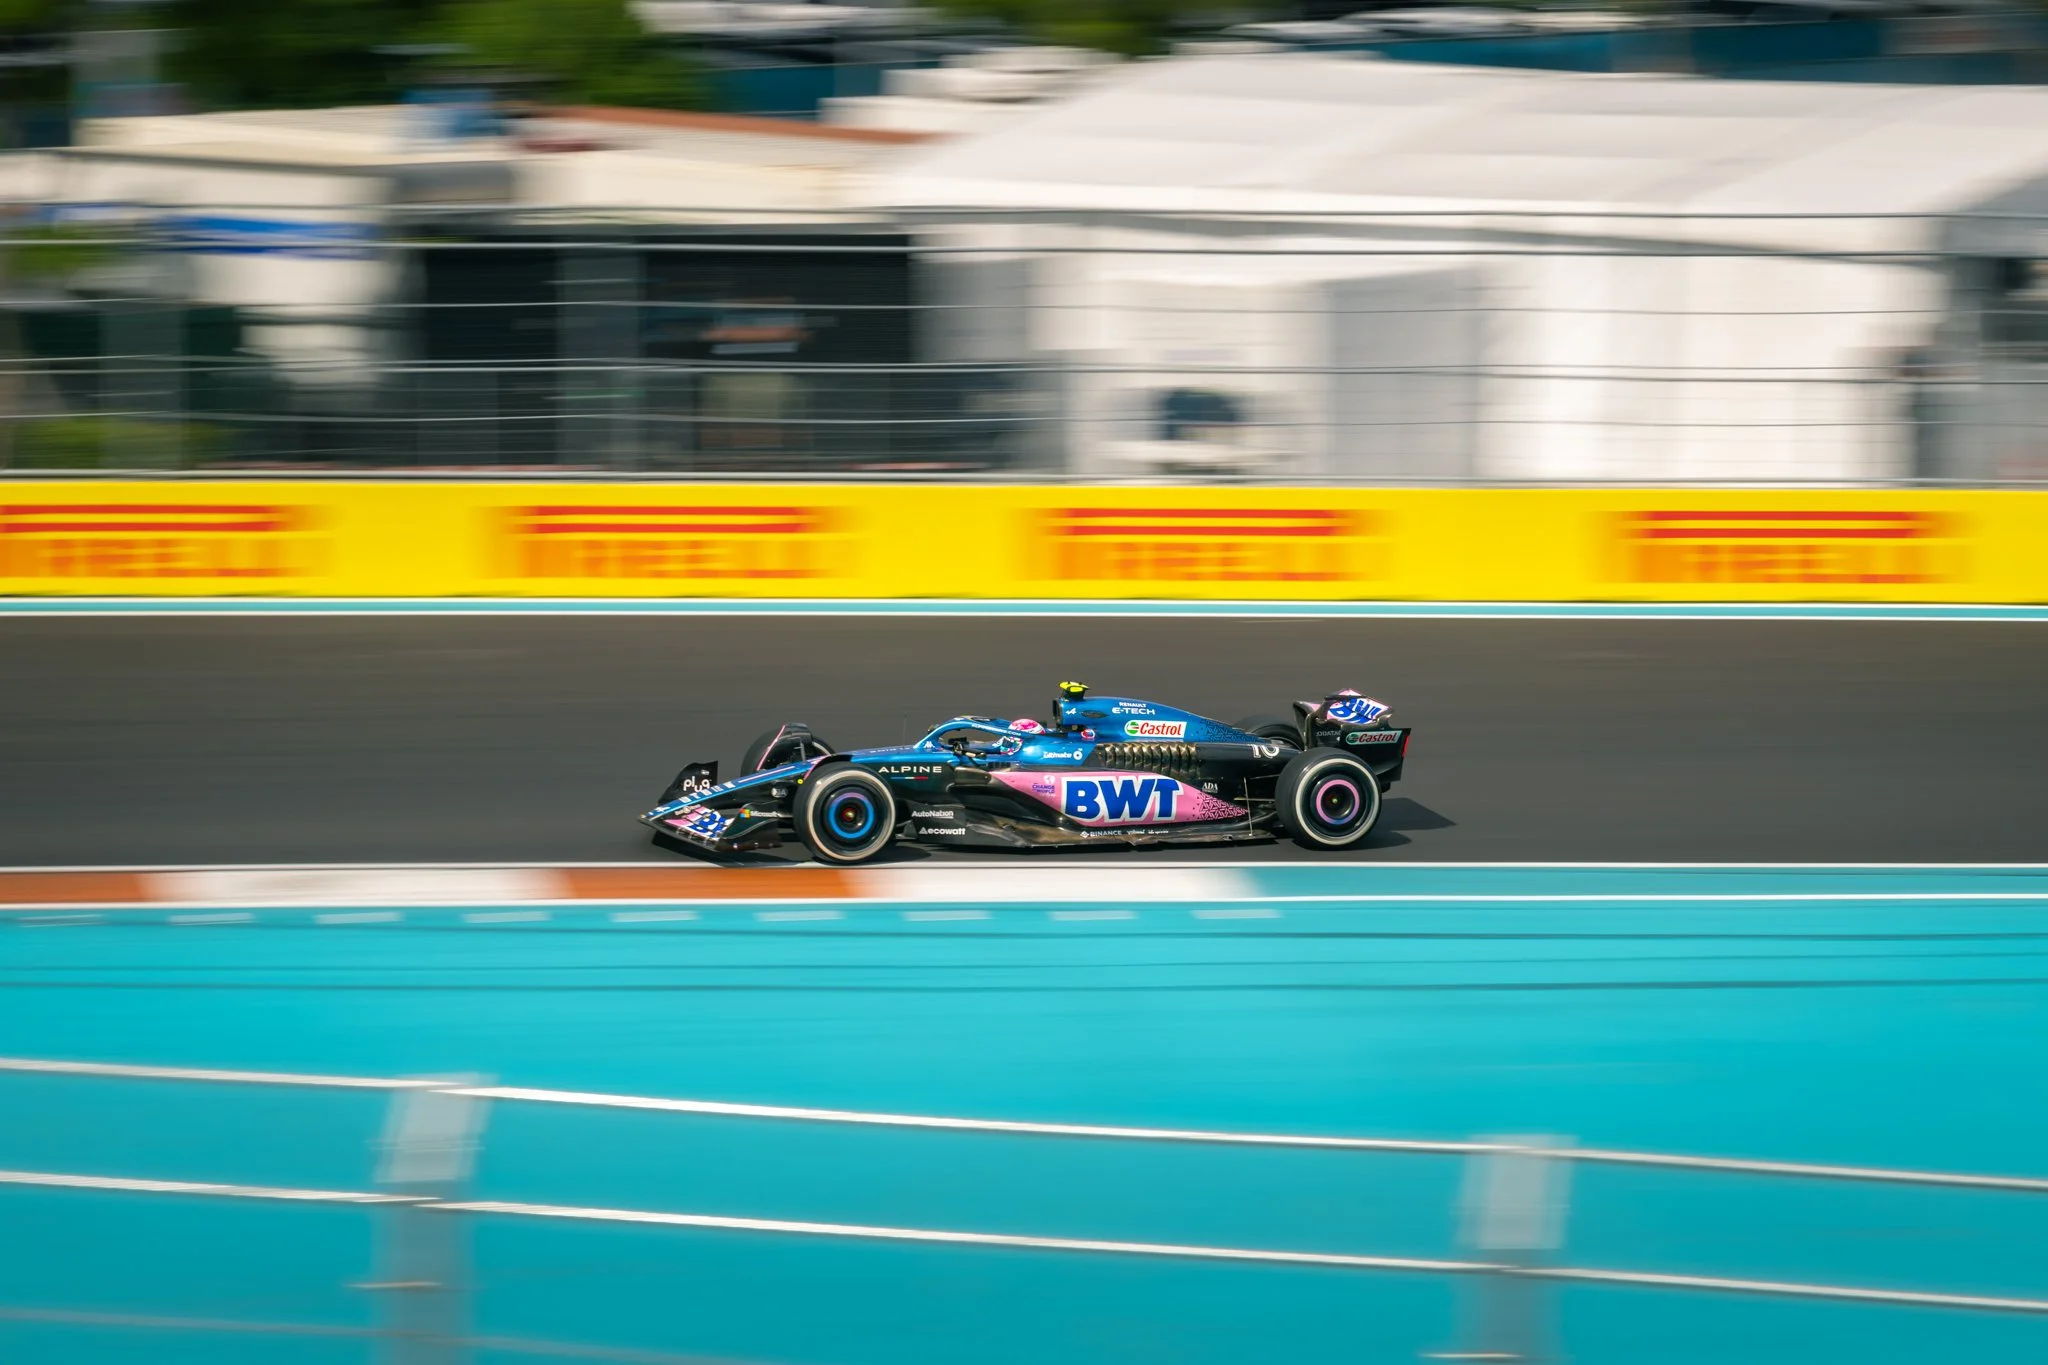
Shot at Miami F1 2023, this shot shows motion by using a longer shutter speed but keeps the car focused by panning with the motion of the vehicle.
To all the aspiring photographers and enthusiasts out there, we've all been there - you frame the perfect shot, but when you review it, it's just not as sharp as you envisioned. It could be due to a myriad of factors, but today we'll focus on the three pillars of photography that most affect image sharpness: ISO, shutter speed, and aperture. Let's dive into these crucial concepts.
ISO (Sensor Sensitivity).
ISO, originally a film concept, in digital cameras measures the sensitivity of the image sensor to light. Lower ISO values (like ISO 100 or 200) mean lower sensitivity to light but also less noise, which contributes to a clearer, sharper image. Higher ISO values increase the sensor's sensitivity to light, useful in low-light situations, but also increase noise, reducing image sharpness and introducing artifacts, color distortions, and digital grain (undesirable, unlike traditional film grain).
Shutter Speed.
Shutter speed, measured in fractions of a second, determines how long your camera's shutter is open and exposing your camera's sensor to light. Faster shutter speeds (like 1/500) freeze action, reducing motion blur and leading to sharper images. Slower shutter speeds (like 1/30) allow for more light intake and can introduce motion blur, potentially reducing image sharpness.
Aperture.
Aperture, expressed as f-numbers or f-stops (like f/2.8 or f/8), controls the size of your camera lens' opening. Lower f-numbers mean larger openings, letting in more light but reducing the depth of field, making only a portion of your image sharp. Higher f-numbers provide a greater depth of field, making more of your image sharp, but let in less light.
Balancing ISO, Shutter Speed, and Aperture.
To get sharp images, you'll need to balance ISO, shutter speed, and aperture depending on your lighting conditions and artistic vision. Here are some tips:
Bright Conditions: Use a lower ISO for less noise, a fast shutter speed to freeze motion, and a higher f-number to increase the depth of field.
Low-Light Conditions: Increase ISO carefully to avoid excessive noise, use a slower shutter speed (consider using a tripod to avoid camera shake), and use a lower f-number to let in more light.
Portraits: To make your subject sharp while blurring the background, use a moderate ISO, a fast enough shutter speed to avoid motion blur, and a low f-number to decrease the depth of field.
Landscapes: To make everything from foreground to background sharp, use the lowest ISO possible, a slower shutter speed (a tripod can be helpful), and a high f-number to maximize the depth of field.
Mastering ISO, shutter speed, and aperture are fundamental to getting sharp images. Play around, experiment, and practice balancing these settings. Remember, the key to improving your photography skills is understanding these principles and then practicing until they become second nature.
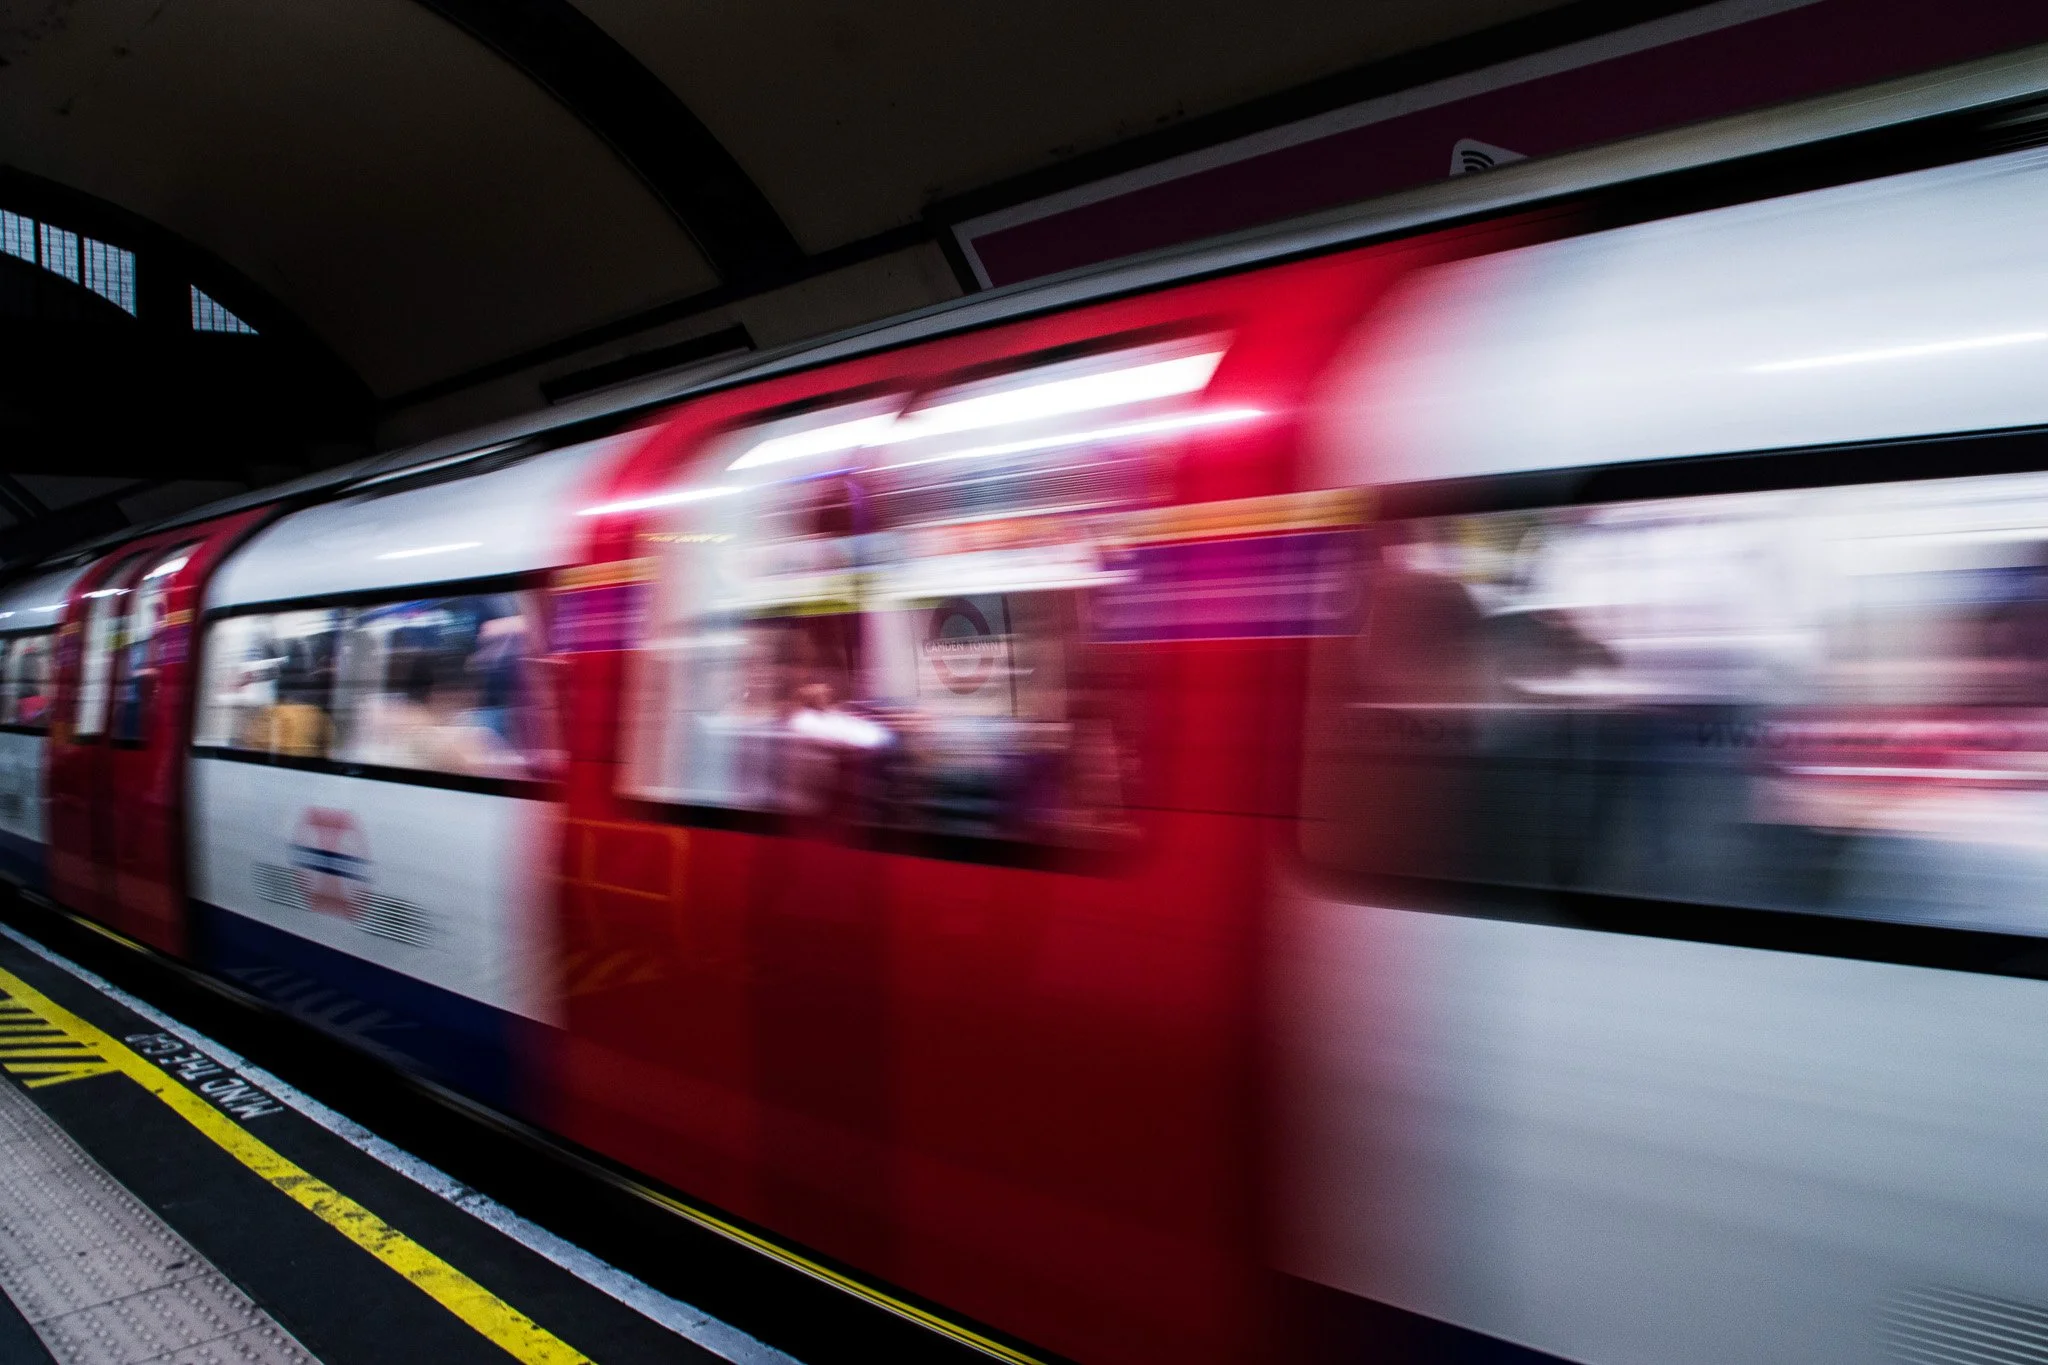
In this image, the train is moving and the camera is still. In this case, you see the motion of the train relative to the surroundings by using a longer shutter speed.
If you want more information for creators learning about media production, check out our other blog posts and additional articles to learn more:
Vanda - Blog Posts for Creators.
Vanda - Blog Posts about Gear.
Photography Life - Understanding ISO, Aperture, and Shutter Speed.
Improve Photography - Photography Basics 101.
Kolari - Complete Beginners Guide to ISO, Aperture, and Shutter Speed.